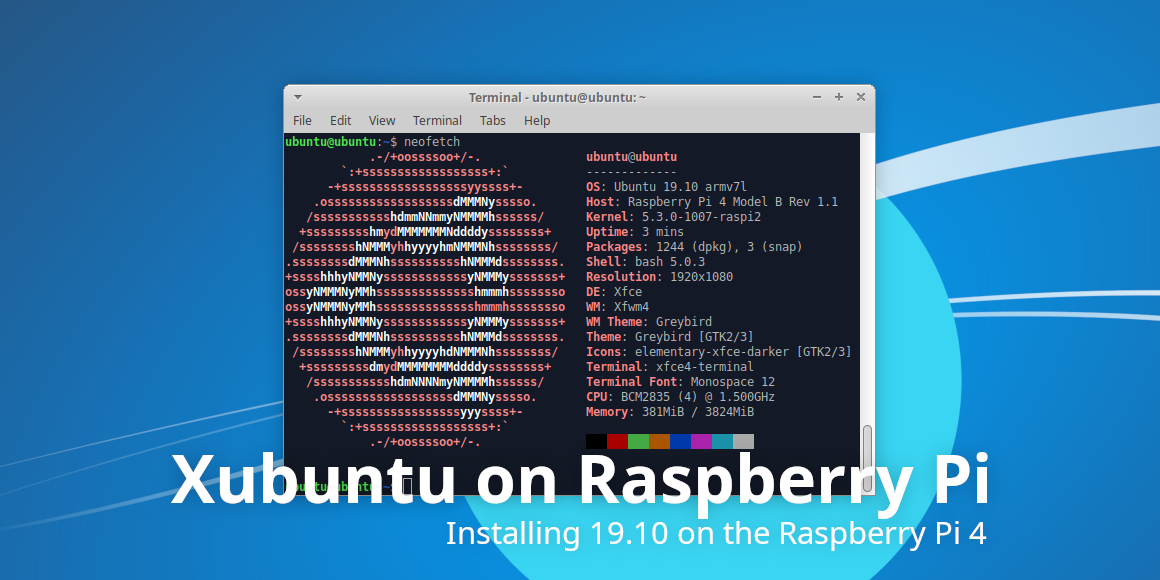
Install Xubuntu 19.10 on a Raspberry Pi 4
With the release of Ubuntu 19.10 “Eoan Ermine”, Ubuntu Server is available for the Raspberry Pi 4 for the first time. With the Pi 4’s major boost in performance, once we can install Ubuntu Server, we can install and run any of the flavors. Let’s get to it!

Getting the Server Image
First off, head to the Ubuntu 19.10 release images. We want one of the Preinstalled server images, since booting on the Raspberry Pi is still a tricky fiasco. You’ll see two installation options:

We’ll want to choose the first option, Hard-Float. While the Pi 4 does in fact support the 64-bit ARM image, unfortunately USB devices fail to initialize with this option. If you have no need for mouse and keyboard, feel free to use the 64-bit option. This should be resolved in time for the 20.04 release.
Installing the Server Image
Once your server image has been downloaded, download and run Etcher. If you’ve never used Etcher before, it’s a simple, cross-platform solution for installing disk images to USB devices. It’s reliable and easy to use, and will help you avoid overwriting your hard drives.
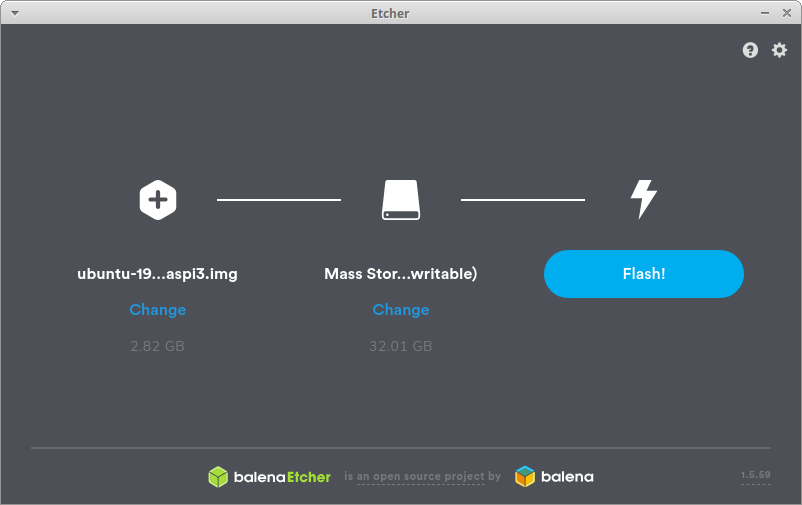
Select the downloaded image (.xz is fine, no need to extract), select the correct storage location, and the click Flash! After a few minutes, the image will be installed and validated, and you’ll be ready to go. Re-insert your MicroSD card into your Raspberry Pi, connect an ethernet cable, power it on, and proceed to the next step.
Note: Once USB installation finished, I received an error that the checksums did not match, but everything seems to work correctly afterward.
Logging In
This part tripped me up for a while. Once installed, the default username and password are both “ubuntu”. However, the first login to your Raspberry Pi has to be via SSH! First step, find the IP address of your Raspberry Pi device.
Be mindful that if you’re in a corporate or other shared environment, scanning for devices might be frowned upon. With that warning out of the way, let’s use nmap to look for our device. I’m not going to cover usage here, but a quick DuckDuckGo search can point you in the right direction. The server installation image defaults the hostname to “ubuntu”, so look for that.
$ nmap -sP 192.168.1.0/24
...
Nmap scan report for ubuntu.attlocal.net (192.168.1.230)
Host is up (0.00036s latency).
...
Once you know where the device is, SSH in and reset your password. Enter “yes” to continue connecting if prompted for the fingerprint.
$ ssh [email protected]
[email protected]'s password:
You are required to change your password immediately (administrator enforced)

WARNING: Your password has expired.
You must change your password now and login again!
Changing password for ubuntu.
Current password:
New password:
Retype new password:
passwd: password updated successfully
Connection to ubuntu.attlocal.net closed.
Now, SSH in once more with your new password, and let’s install Xubuntu!
Installing Xubuntu
We’re almost done! Now it’s time to decide: Do you want Xubuntu Core, the minimal Xubuntu base that you can easily customize to your needs, or Xubuntu Desktop, our standard installation option? I’ll be doing installing Core for this guide, but if you want to install Desktop, just replace “xubuntu-core^” with “xubuntu-desktop^”.
Also worth noting, while setting up Xubuntu on the Raspberry Pi, I came across an issue that causes our default login screen to fail. This has been fixed upstream, but to work around this issue now we will be using Slick Greeter for our login screen. Now, let’s get back to the installation. Please note that the caret, ^, is not a typo!
sudo apt update
sudo apt install xubuntu-core^ slick-greeter
This will take a while. Once everything’s installed, the final step is to set Slick Greeter as the login screen. Create /etc/lightdm/lightdm.conf with the following contents using your favorite command-line editor.
[SeatDefaults]
greeter-session=slick-greeter
And finally, reboot!
sudo rebootInstallation Complete
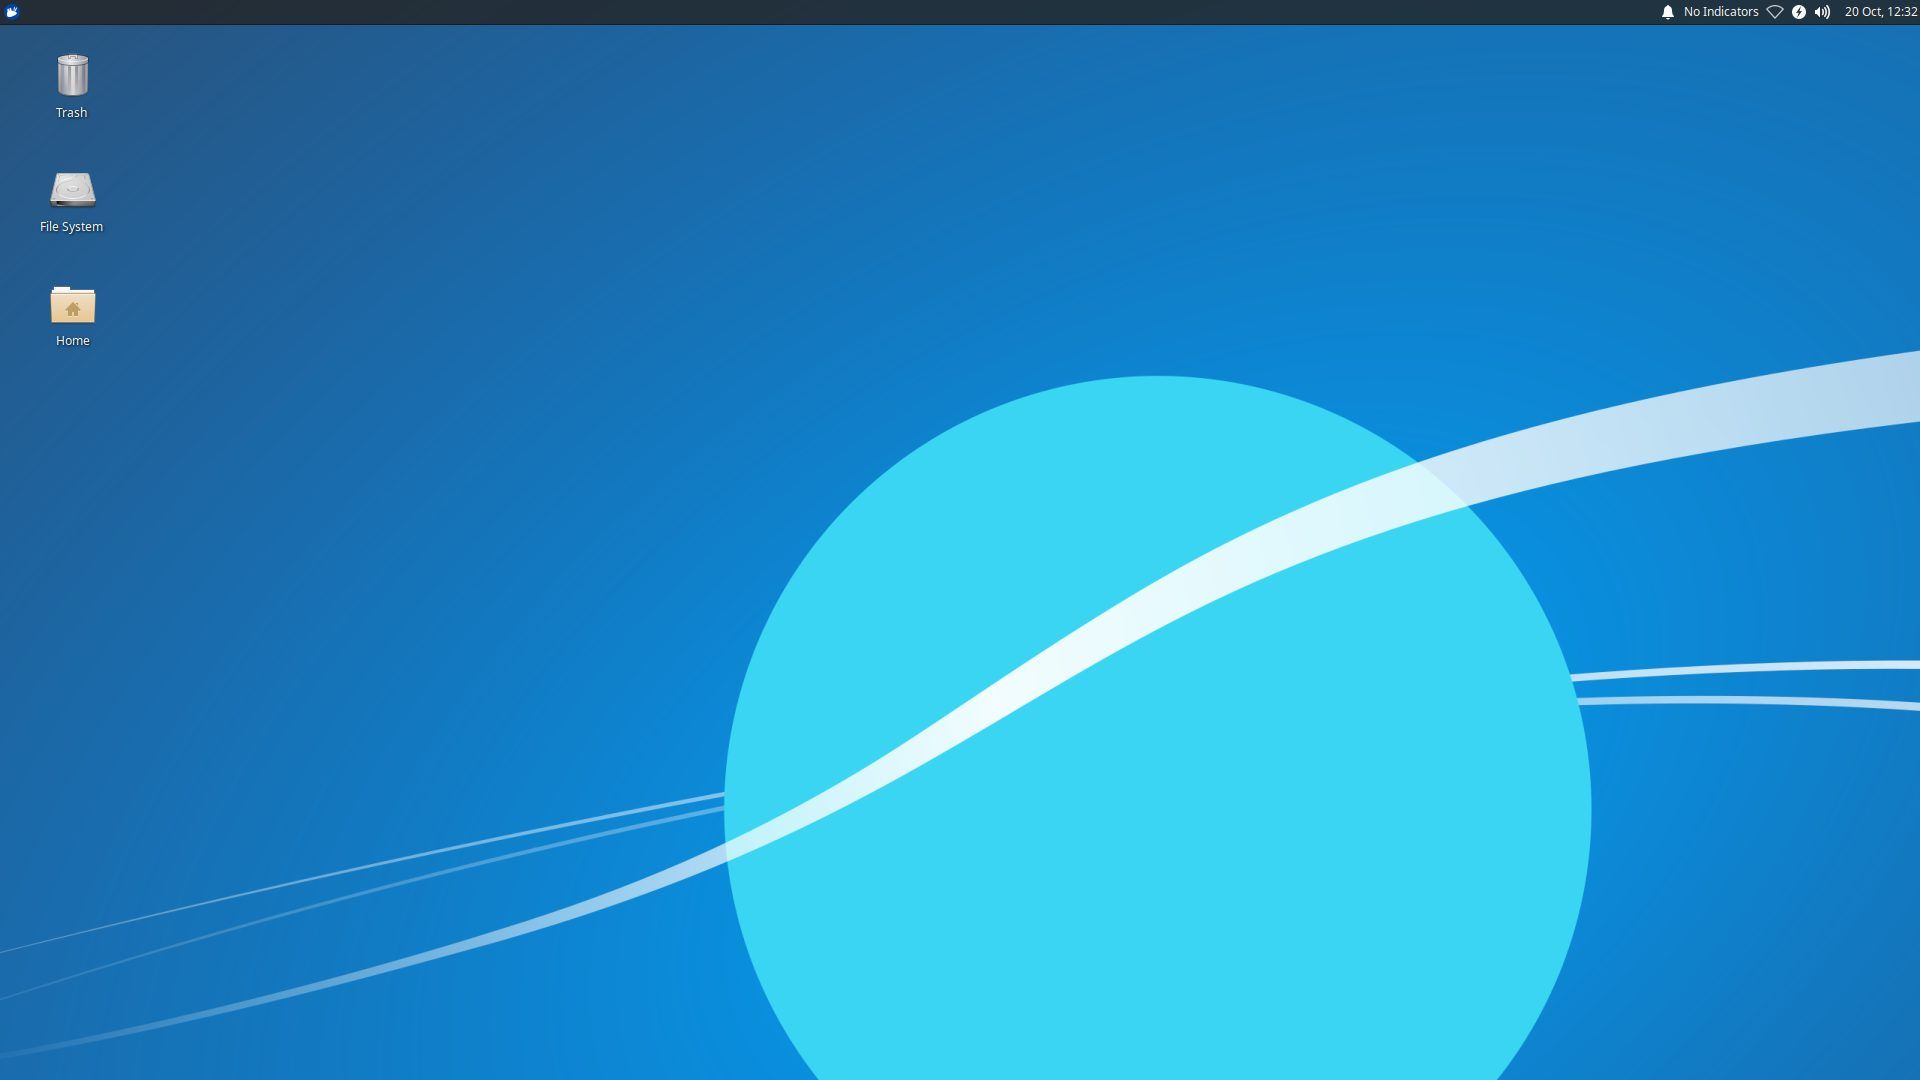
Your Raspberry Pi 4 will now boot into a graphical environment, and you’ll be greeted by Slick Greeter. Login with the password you created earlier, and the Xubuntu desktop will load, same as you’d find outside of the Raspberry Pi.
What's Next?
That’s up to you, but the first thing I recommend is creating a new user. The default Ubuntu user is an administrator, and has a bit more power than you’d normally have on the a desktop installation.
Beyond that, the Pi’s the limit! Have fun, and enjoy running the mouse-based distribution on your mouse-sized computer.
Thanks!
I purchased my Raspberry Pi 4 with funds from my Patreon, so my patrons helped make this project possible. I’ll continue experimenting with the Pi 4, so look forward to even more awesome projects. Thanks everybody!