Install Xubuntu 20.04, 21.10, or 22.04 on Raspberry Pi 4
Install Xubuntu 20.04, 21.10, or 22.04 on the Raspberry Pi 4. This guide makes it easy to get up and running.

Introduction
The Raspberry Pi 4 and 400 are capable ARM devices able to run a desktop-class operating system, albeit slowly. Ubuntu has a tutorial for installing a desktop on the Raspberry Pi, but I recommend using Martin Wimpress’ desktopify script to install with improved hardware support. In this guide, I’ll be using a patched version that enables installation on Ubuntu 21.10 and 22.04.
Please note that the Raspberry Pi is not supported by the Xubuntu Team. This installation method is made available for those looking for something different to use their Raspberry Pi for, or those needing to test against ARM hardware.
With this guide, you will
- Download your preferred Ubuntu version (20.04, 21.10, 22.04)
- Use GNOME Disks or the Raspberry Pi Imager to flash Ubuntu onto an SD card
- Use a patched
desktopifyscript to install Xubuntu or Xubuntu Core on your Raspberry Pi 4
Download Ubuntu Server
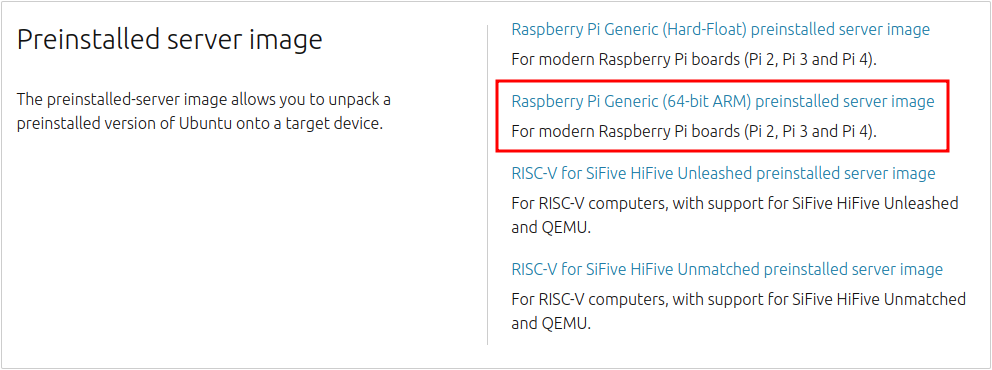
Download the Raspberry Pi Generic (64-bit ARM) preinstalled server image for your selected Ubuntu version. You should end up with a filename ending in -preinstalled-server-arm64+raspi.img.xz
Prepare the SD Card
Insert your SD card into your computer. Then select your installation method below.
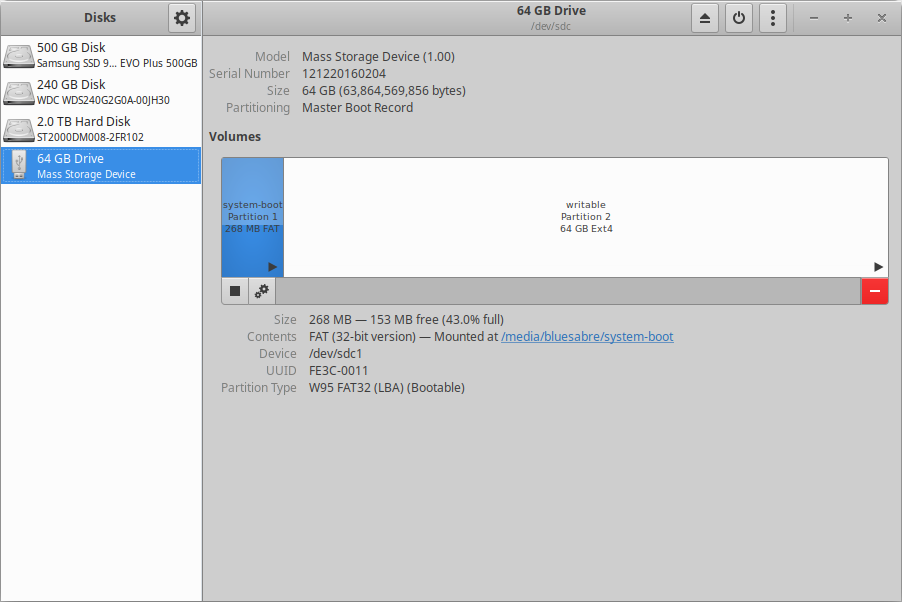
Option 1. GNOME Disks
If you’re installing from GNOME or Xubuntu, you already have Disks installed.
- Select the SD card in the Disks sidebar.
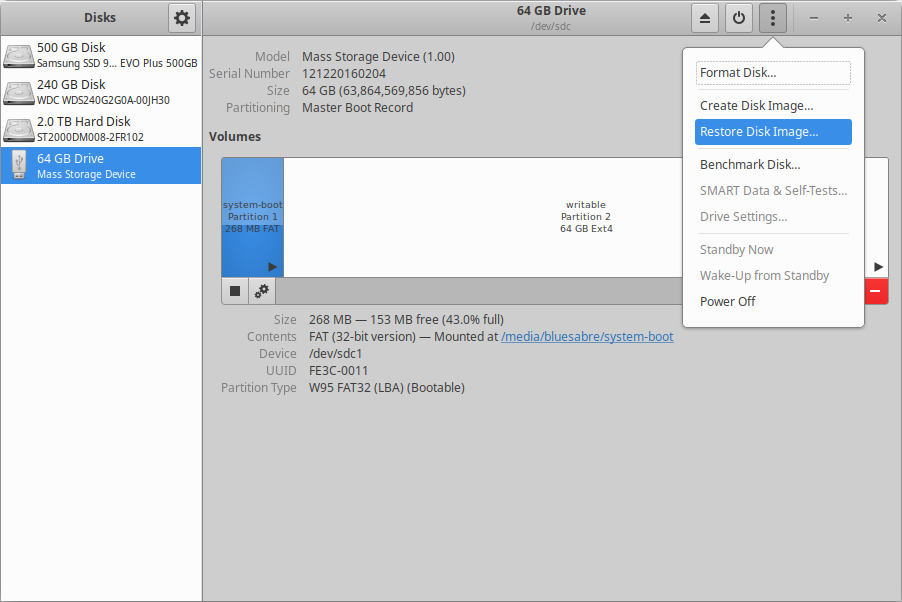
- Click the dots menu button in the upper right corner.
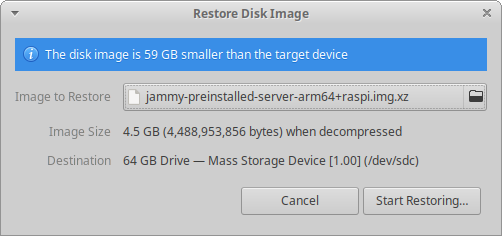
- Select Restore Disk Image…
- Click the button next to Image to Restore and navigate to your
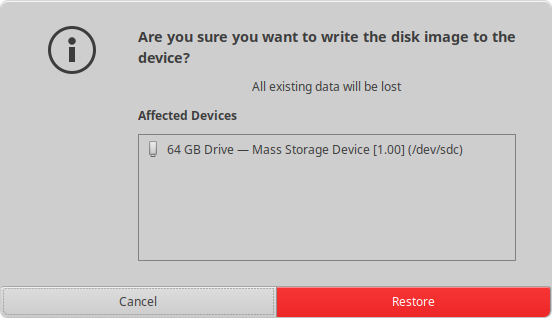
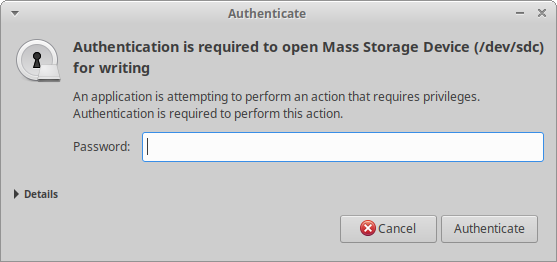
img.xzfile. Click Start Restoring… - Confirm your device one last time and click Restore. Authenticate with your password if requested.
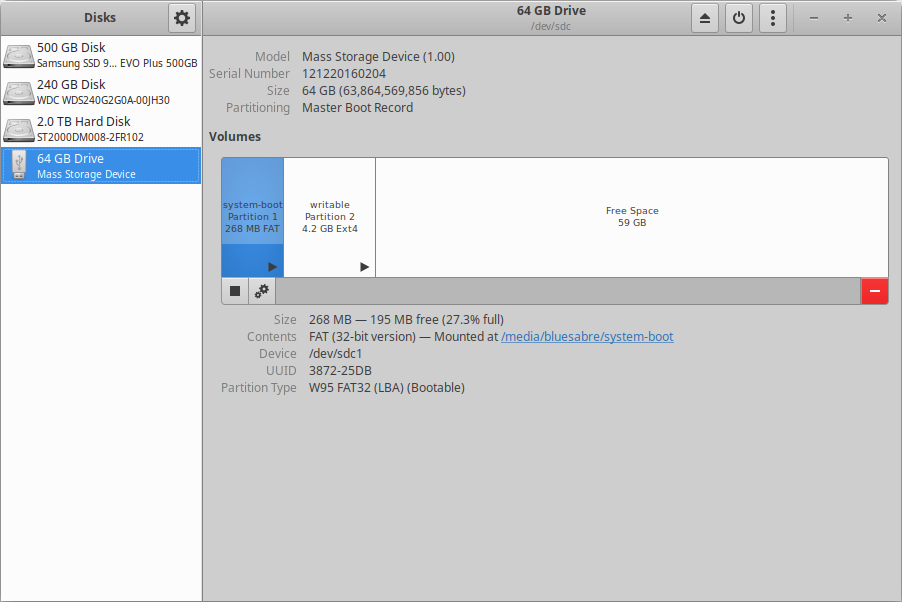
- After some time, the SD card should be successfully flashed.
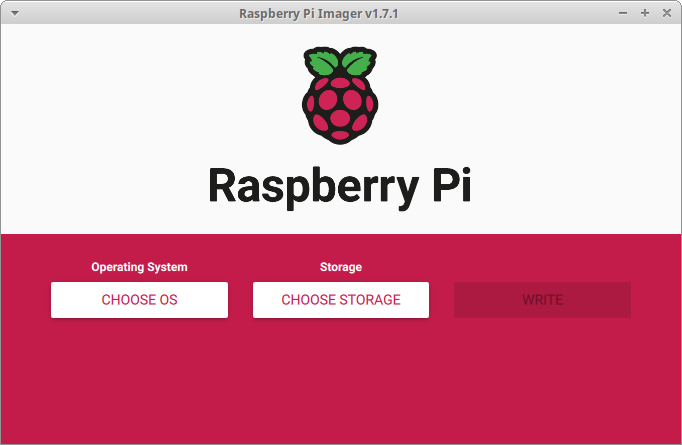
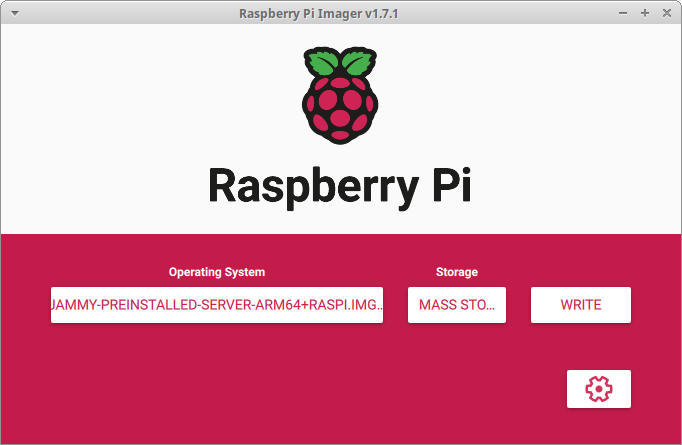
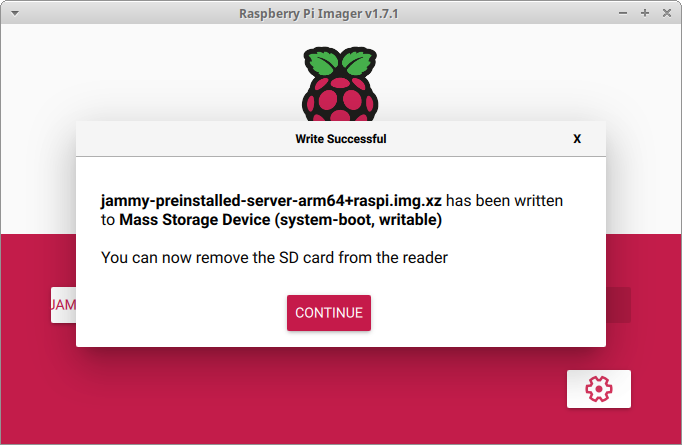
Option 2. Raspberry Pi Imager
Download and install the Raspberry Pi Imager for Windows, macOS, or Ubuntu/Debian.
Once installed, you will find Imager in your applications menu/launcher.
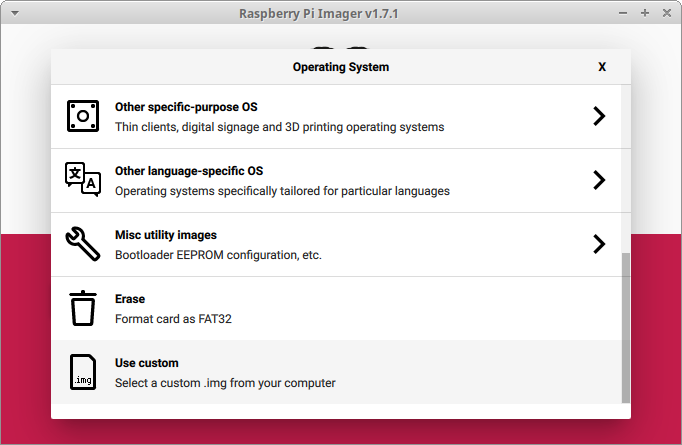
- Under Operating System, click Choose OS.
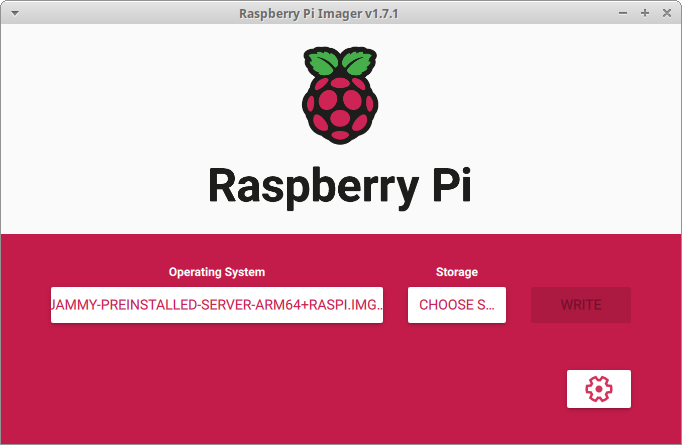
- Scroll to the bottom option, Use custom, and click it. Navigate to and select your
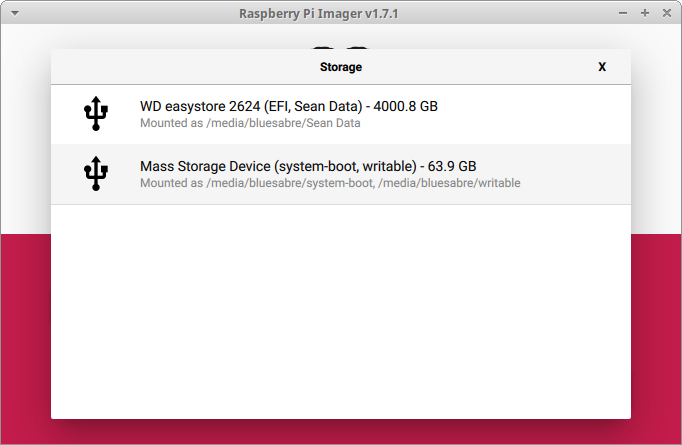
img.xzfile. - Click Choose Storage under Storage.
- Carefully select your SD card from the list.
- Click Write.
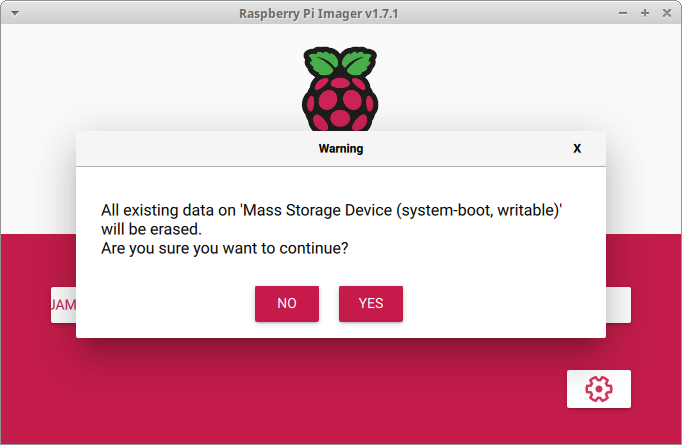
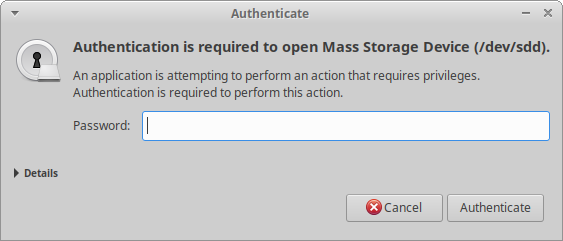
- Click Yes on the confirmation dialog to proceed. Authenticate with your password if requested.
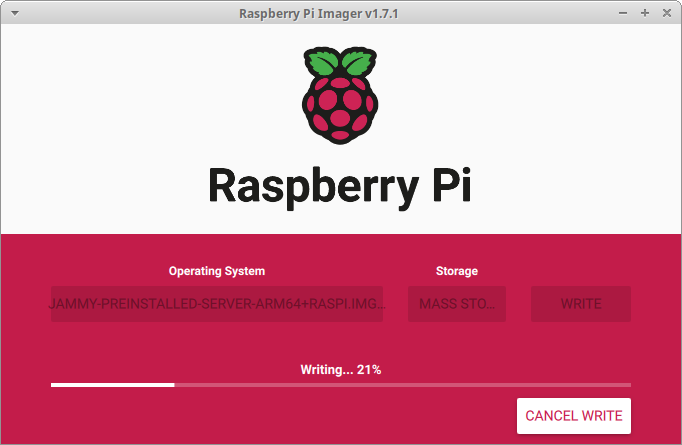
- After some time, the SD card should be successfully flashed.
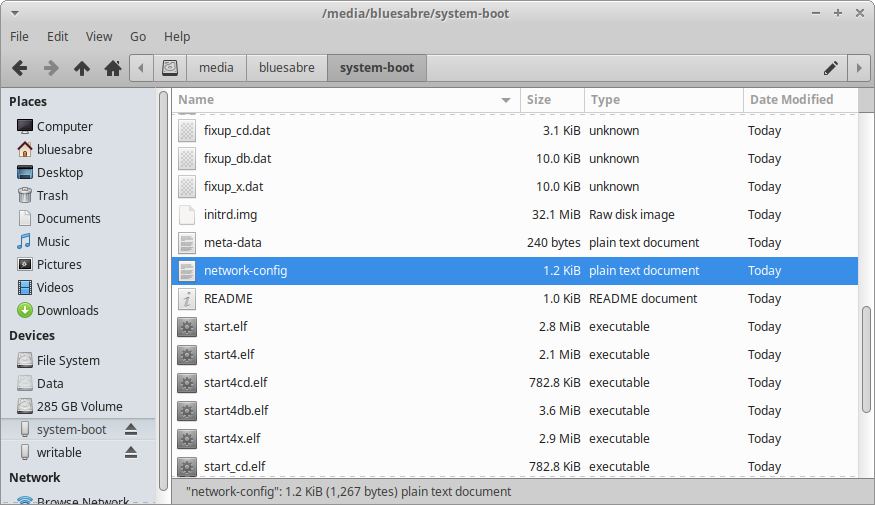
(Optional) Configure your network
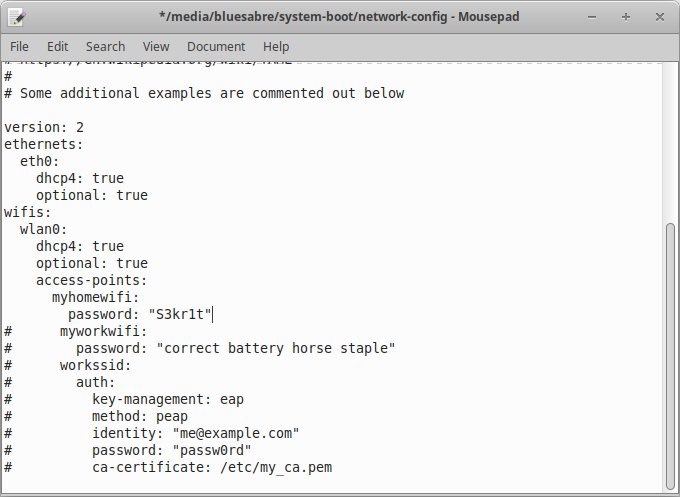
With the SD card still inserted, you should now be able to access the system-boot partition. Navigate to the network-config file on system-boot and open it in a text editor. Here you can configure the Ethernet settings and add Wi-Fi credentials. Some key details:
- Uncomment the sections you want to use by removing the “#” at the beginning of each line.
- Each network name needs to be enclosed in quotation marks. E.g. "
My Wifi Network" - On the first boot, the Wi-Fi network will fail to connect. Once you are successfully logged in, simply enter
sudo rebootto restart the device.
Once you’ve finished, save your changes and eject your SD card.
Install Xubuntu
Install and update Ubuntu Server
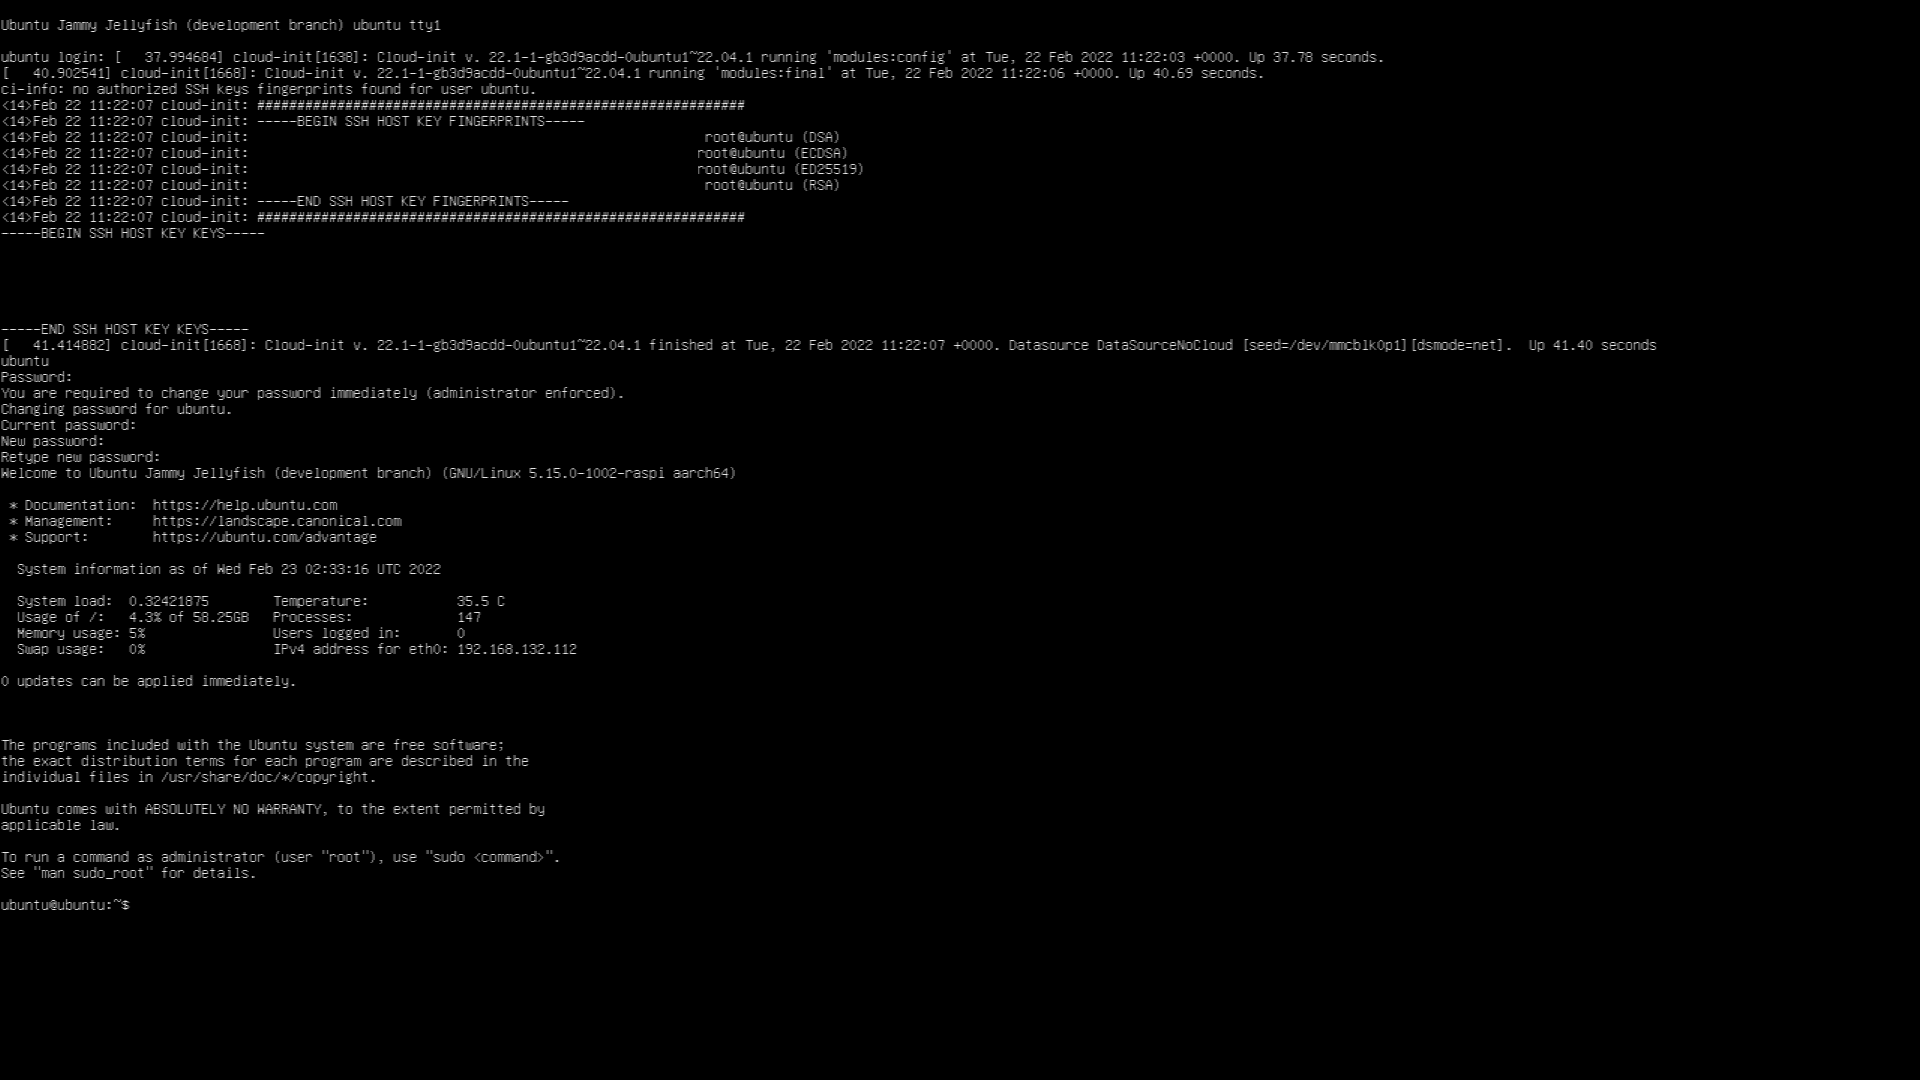
Insert your SD card into the Raspberry Pi and power it on. The first boot takes a few minutes while the writable partition is expanded to fit the remaining space on the SD card. Once a few minutes have passed or you see a message about SSH keys, you are ready to login.
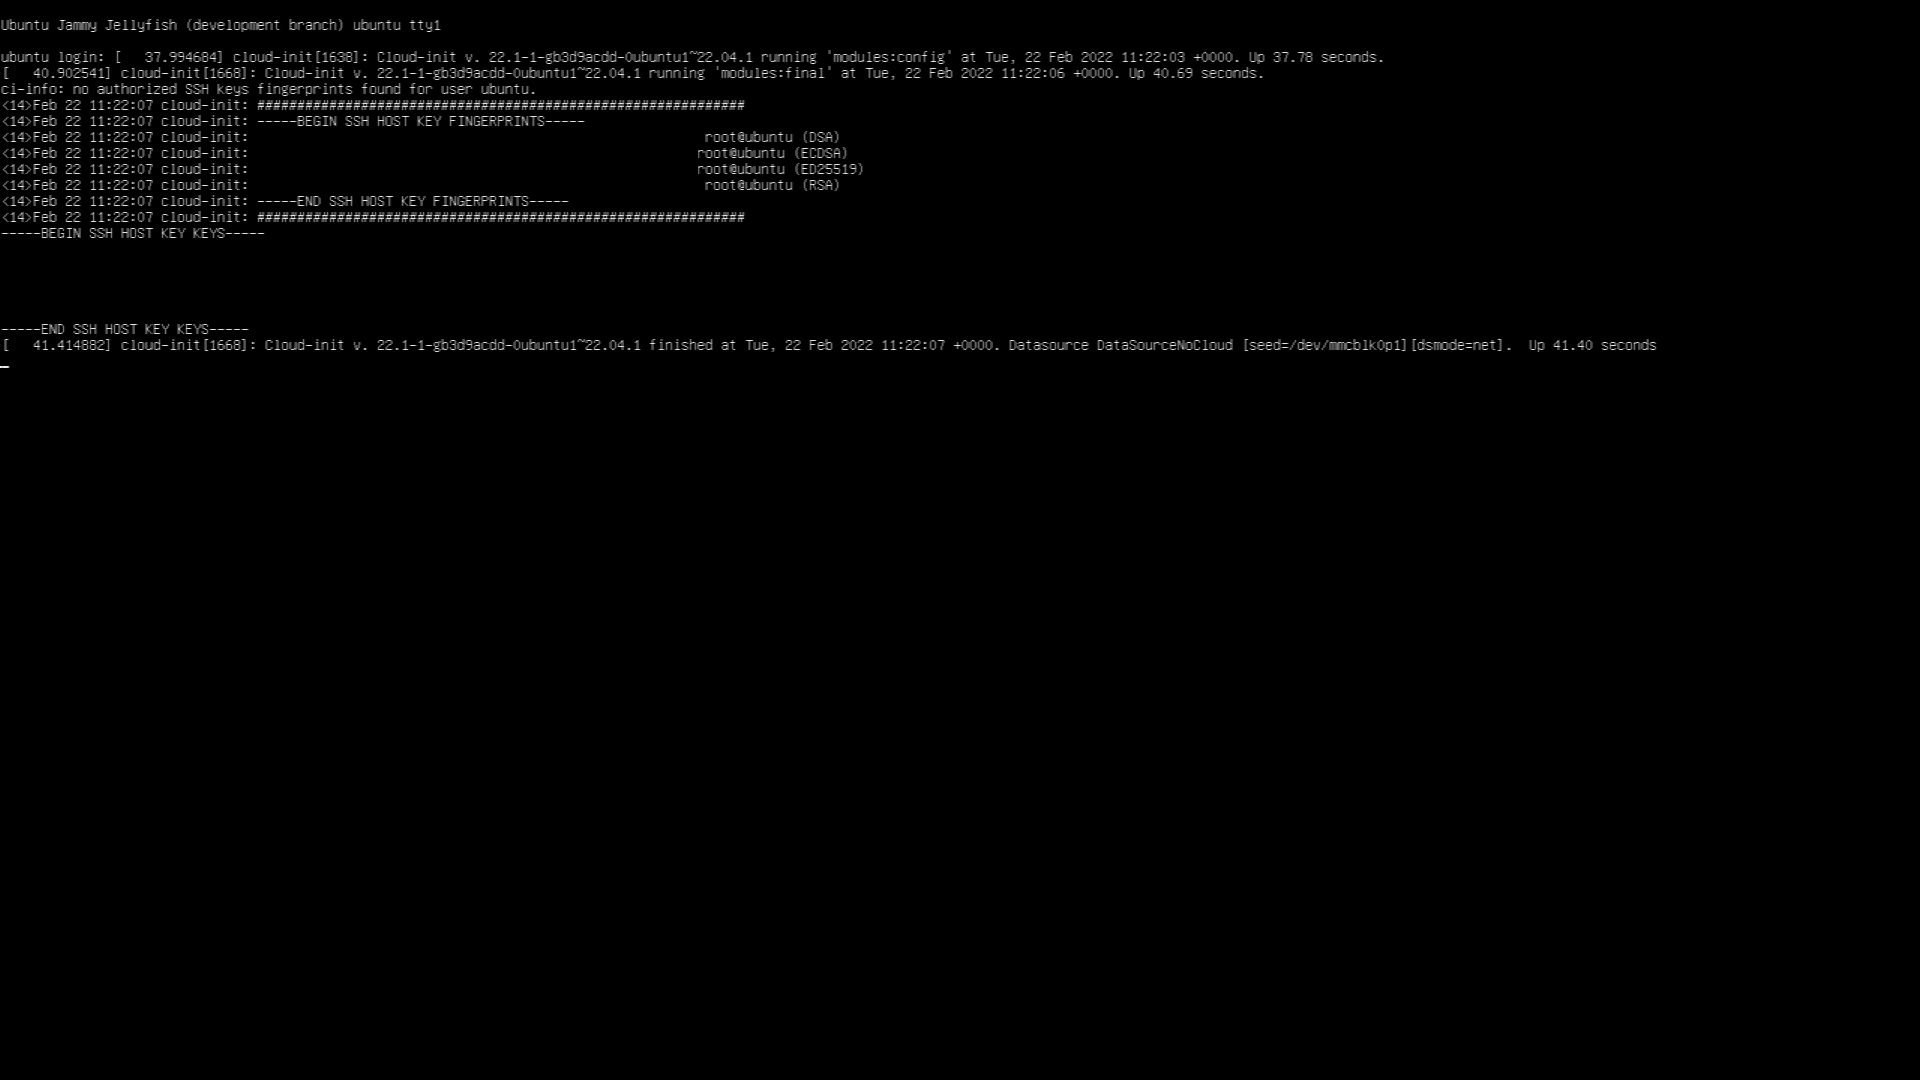
Use ubuntu as both the username and password. You will be prompted to change your password immediately. Afterward, you will be logged in. Reboot now if you need your Wi-Fi connection to work with sudo reboot and then login again.
Time to run updates! Issue the following commands to fully update your device.
sudo apt update
sudo apt dist-upgrade
This will take a while, go make some coffee. Once updates are complete, reboot your device with sudo reboot. Login again and it’s time to install Xubuntu or Xubuntu Core with desktopify.
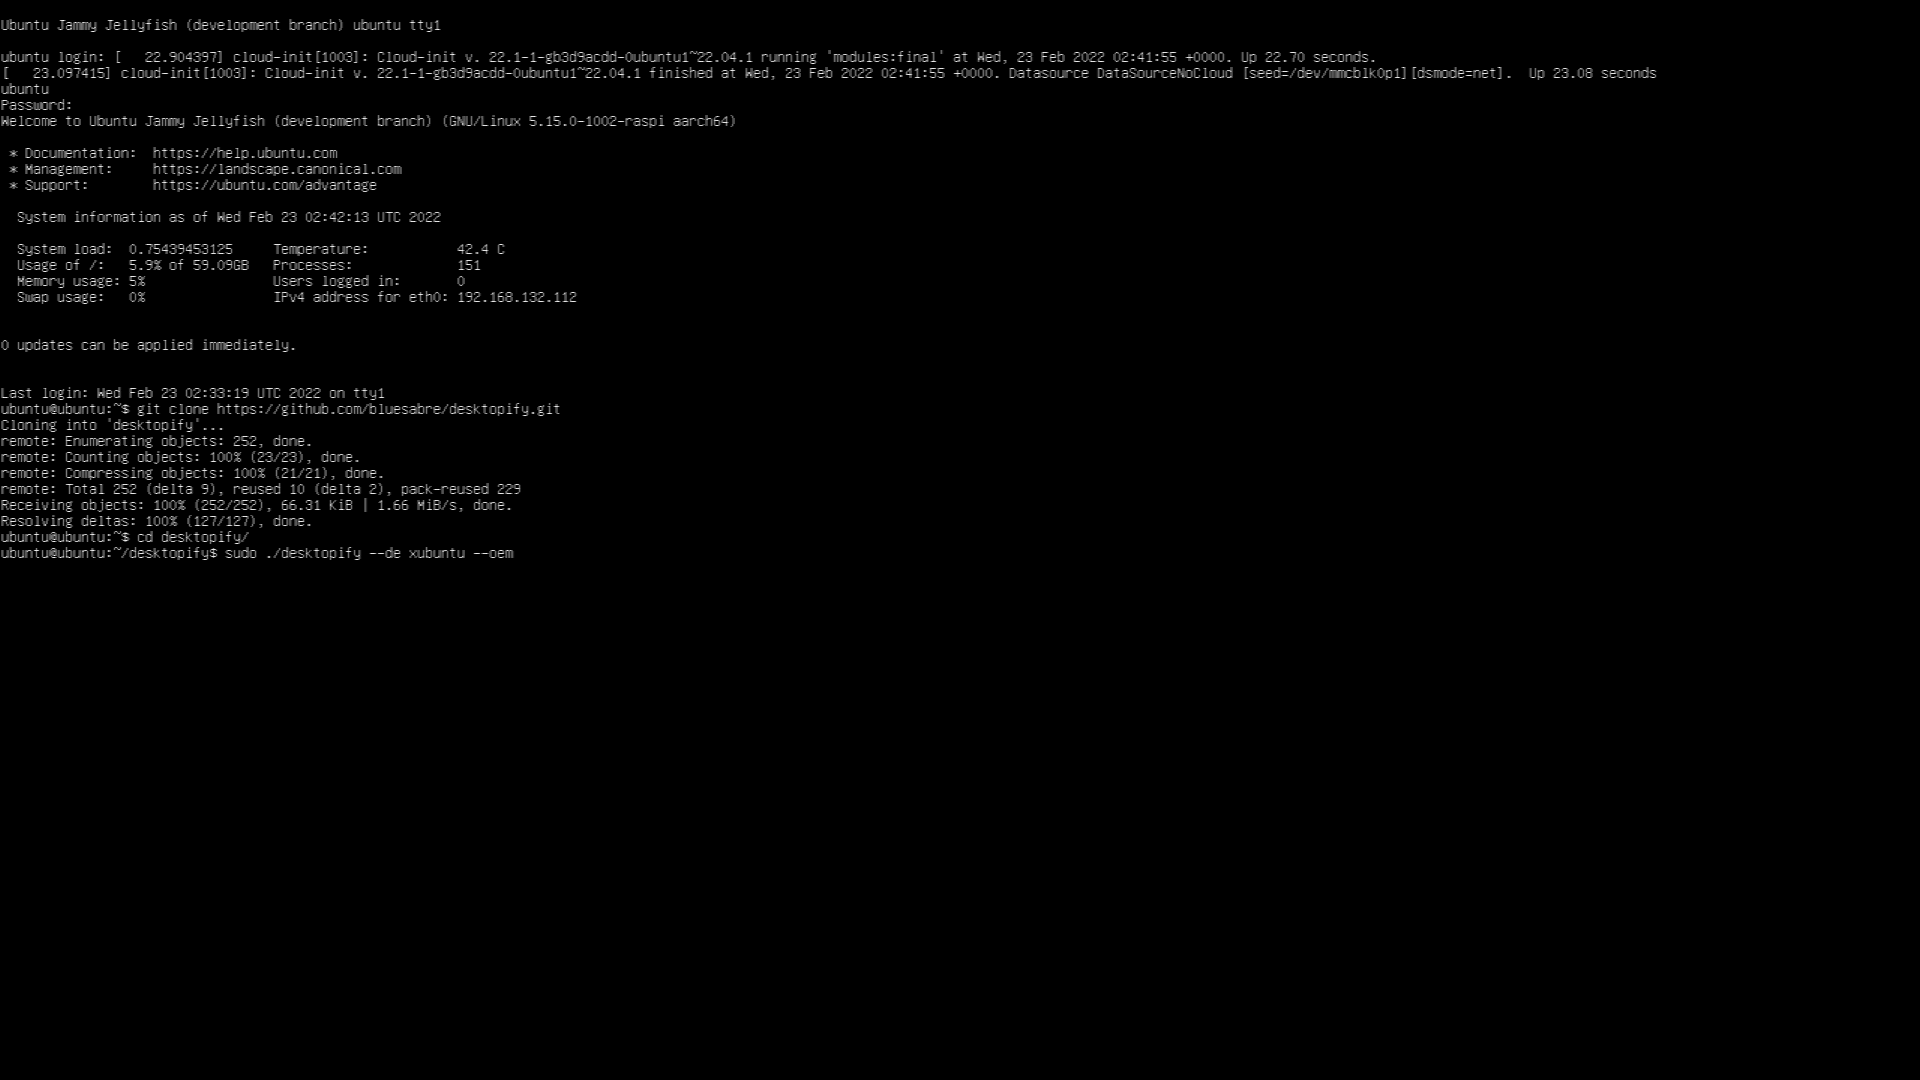
Install Xubuntu with desktopify
Using the patched desktopify script, you can now install Xubuntu or Xubuntu Core on your Raspberry Pi 4. Select one or other, but don’t try to install both. Xubuntu Core is a subset of Xubuntu, so it probably wouldn’t do anything anyway.
Note: The —oem flag is optional but recommended. Without it, you will need to change the hostname and add a new user yourself.
# Get the desktopify repository
git clone https://github.com/bluesabre/desktopify.git
# Switch to the desktopify directory
cd desktopify
# Install Xubuntu, or
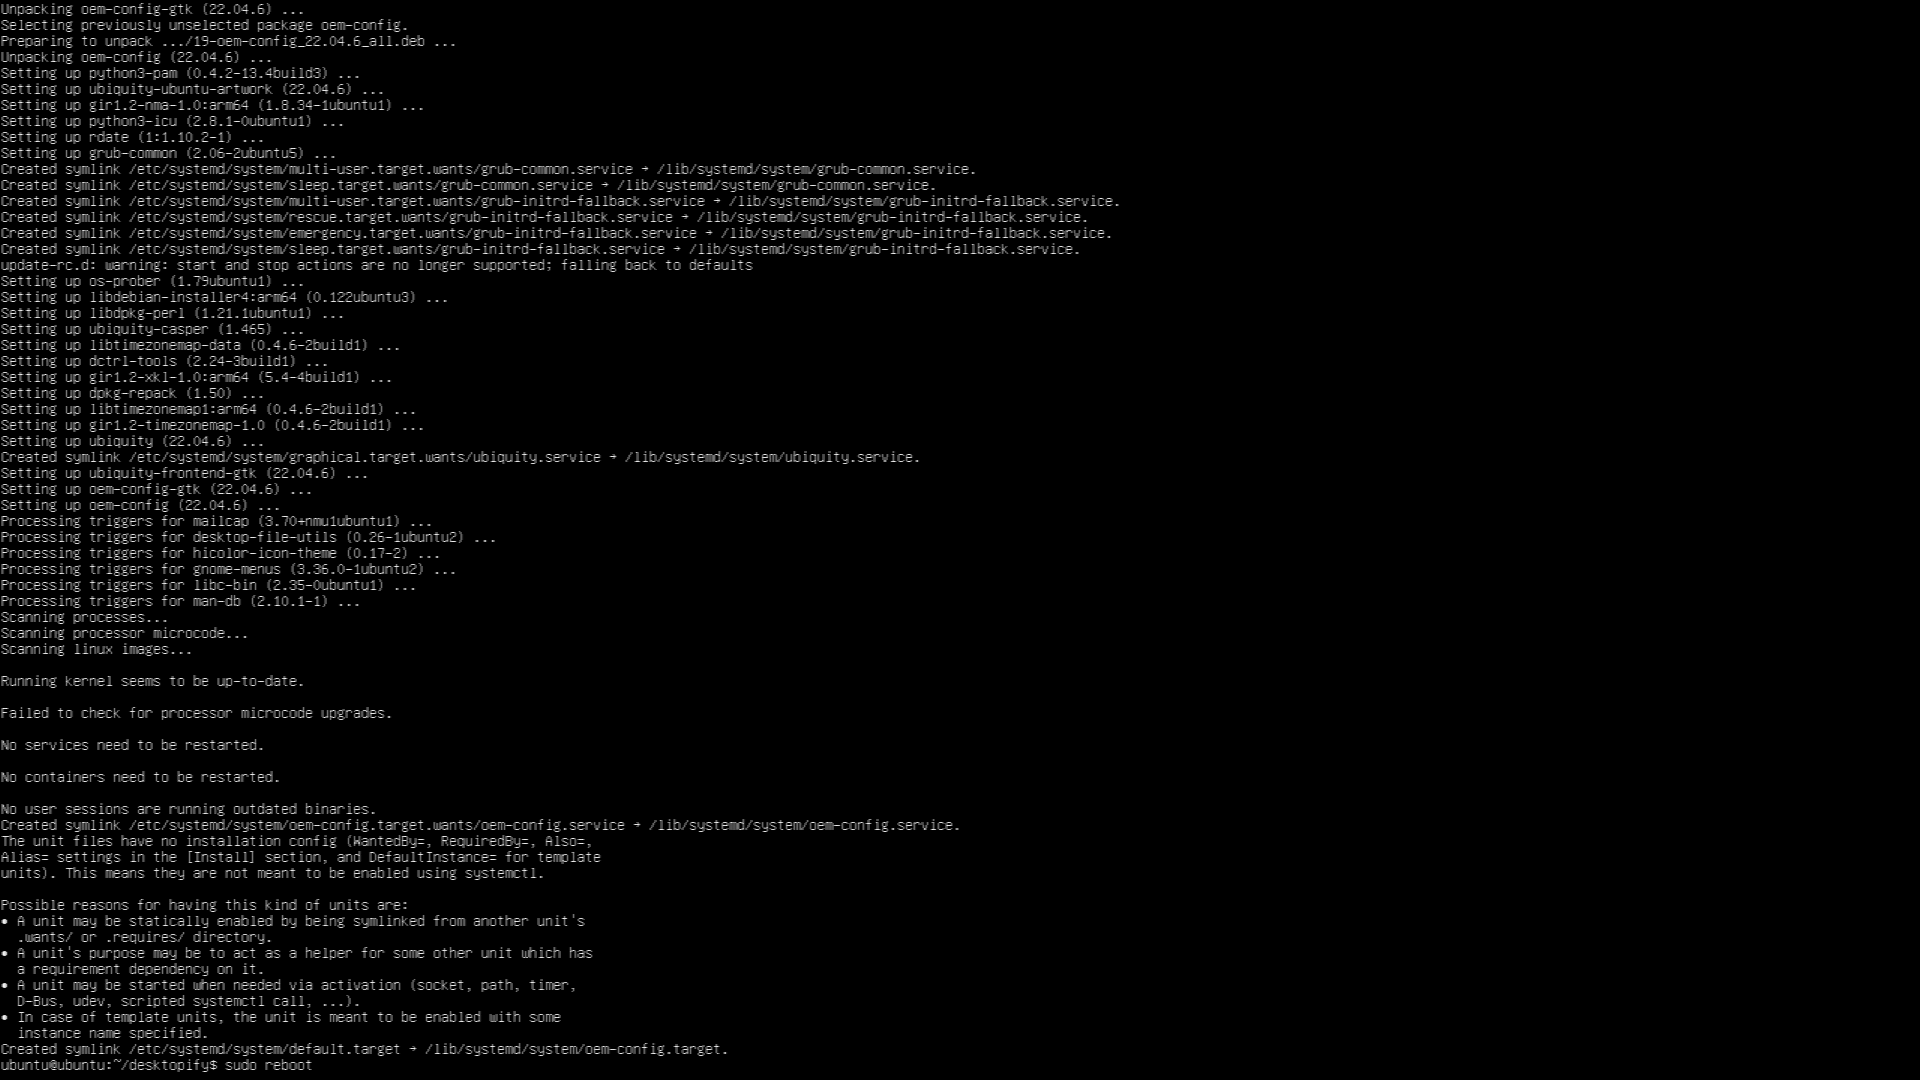
sudo ./desktopify --de xubuntu --oem
# Install Xubuntu Core
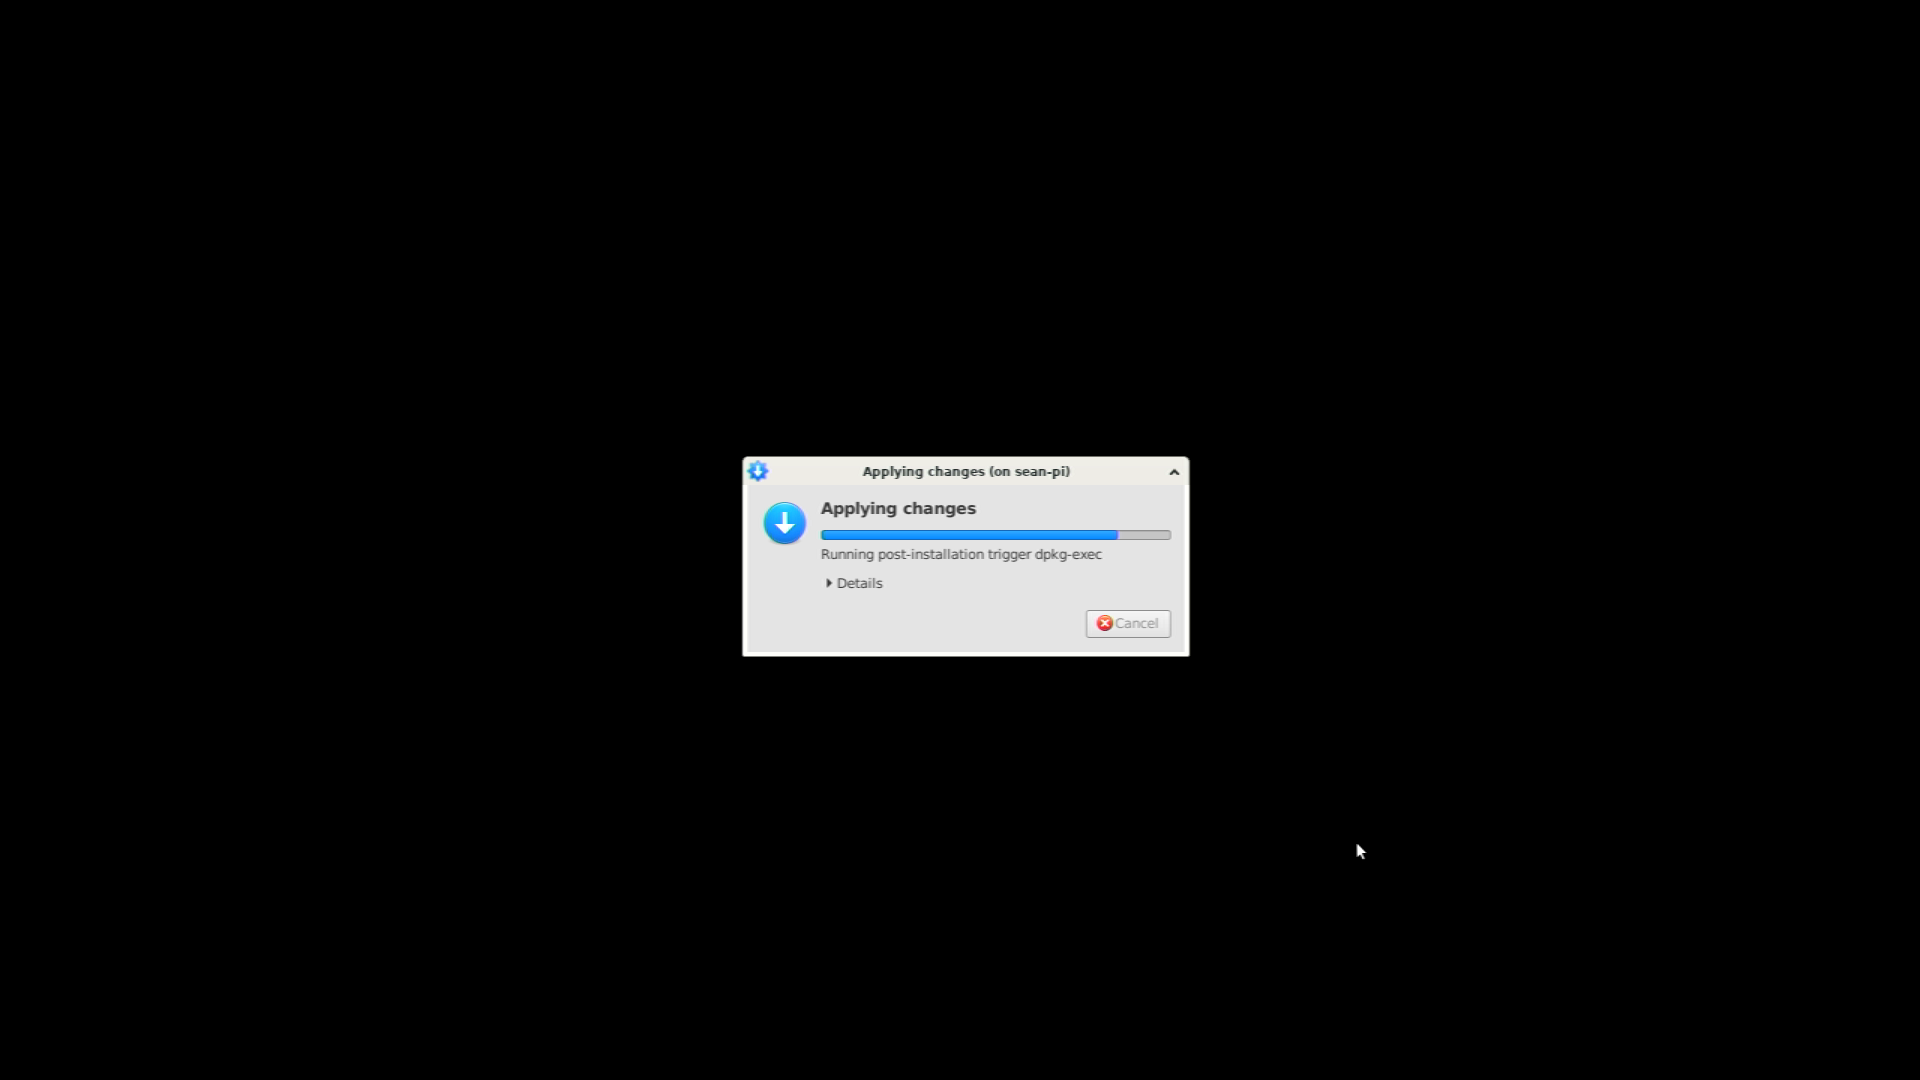
sudo ./desktopify --de xubuntu-core --oemOnce this process is completed, reboot once more with sudo reboot. On next boot, your device will be running Xubuntu!
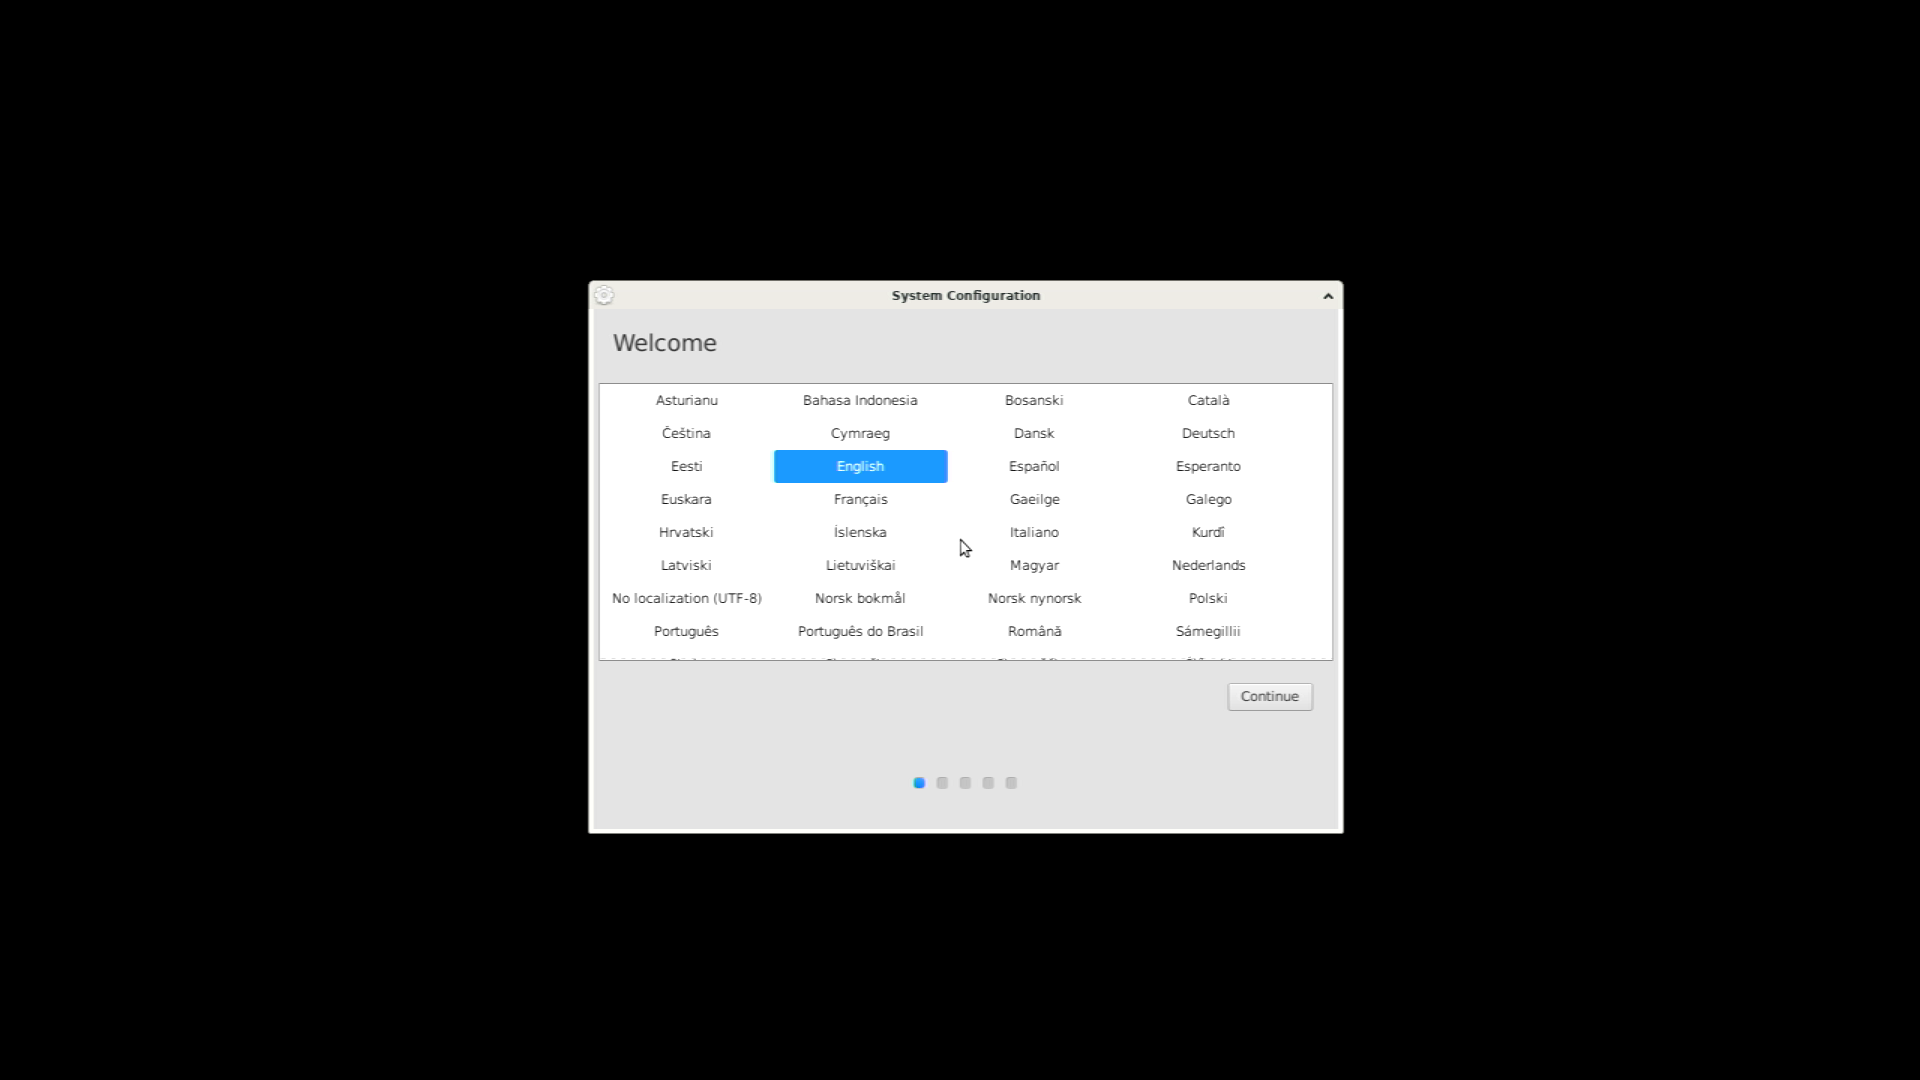
Post Installation
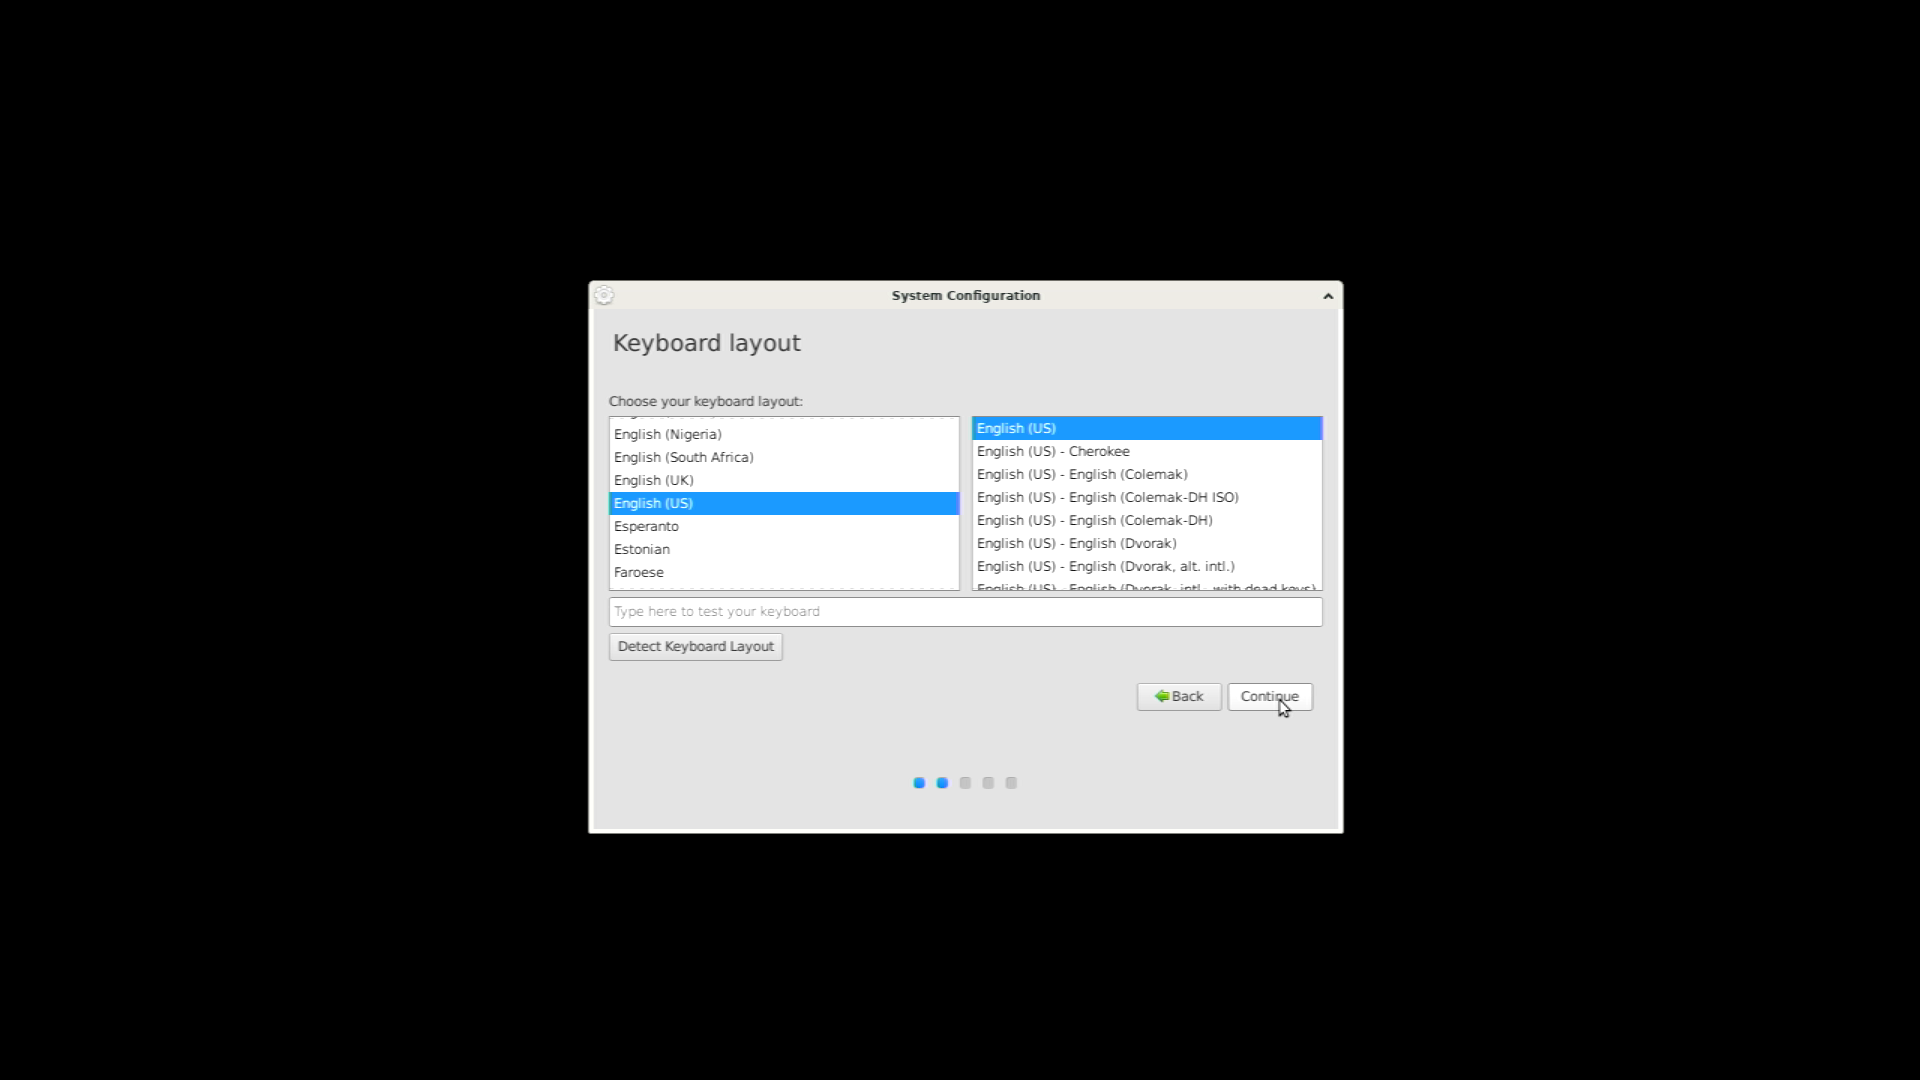
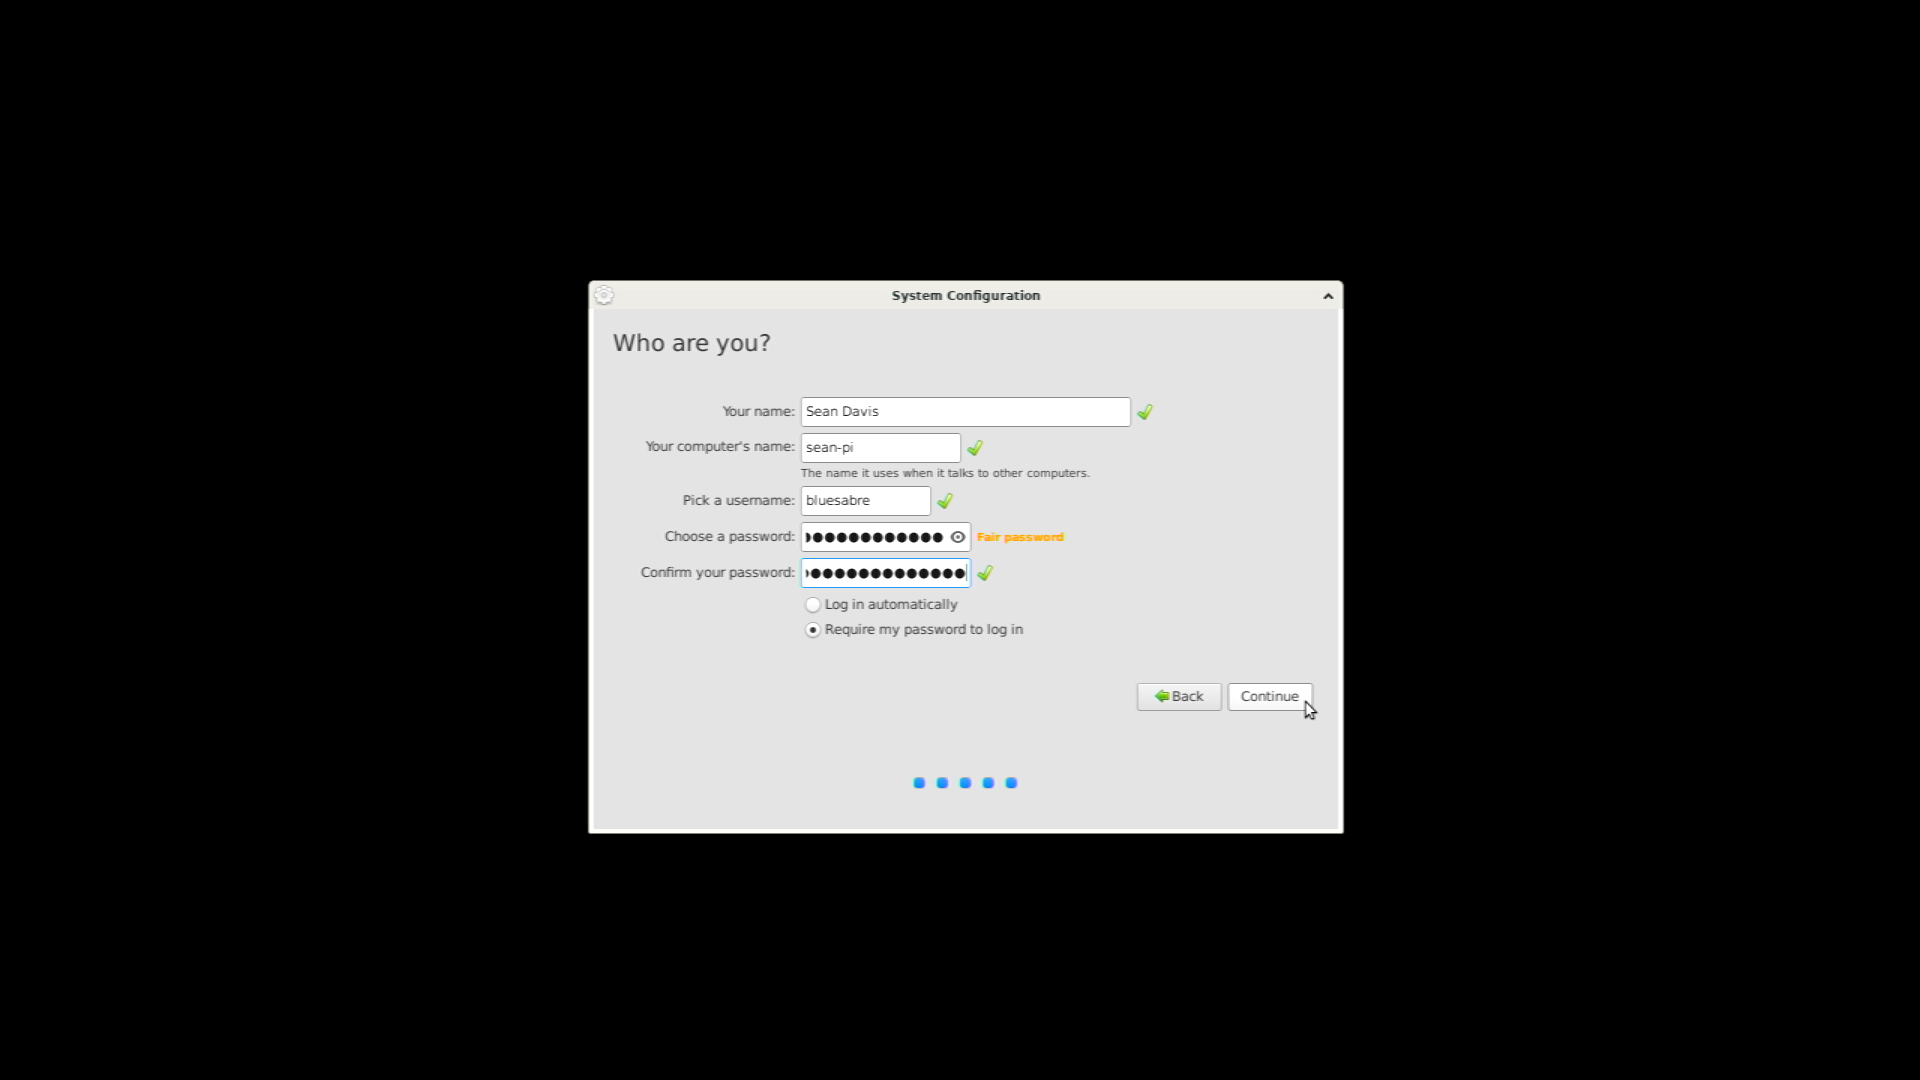
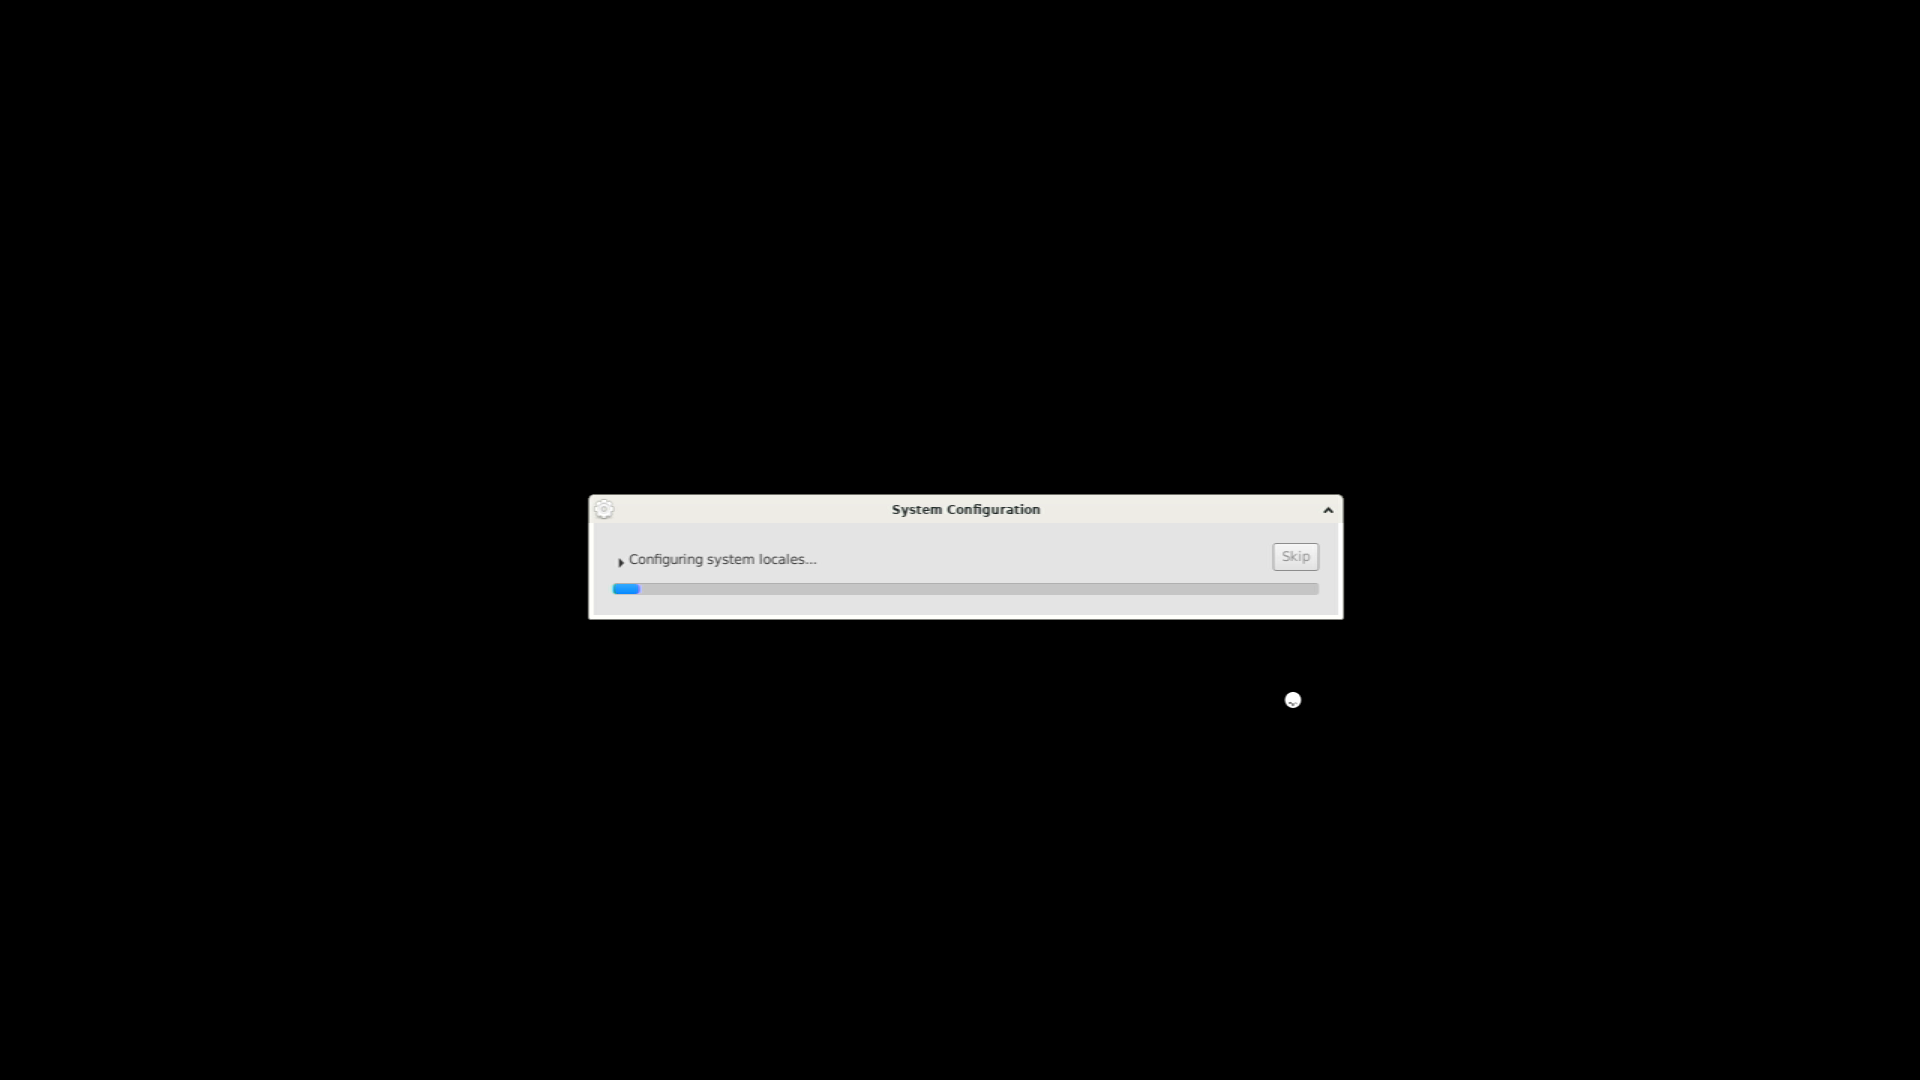
If you opted for the OEM installation option, you’ll first be greeted with the Ubiquity one-time device setup. Enter your details and wait a bit longer and you will be ready to login with your new username and password.

If you did not use the OEM installation option, your password is the same as the one you set when you first started the Raspberry Pi.
Enjoy Xubuntu on the Raspberry Pi, but remember that it is an unsupported device. Performance issues and missing hardware features are to be expected and are unlikely to be addressed by the team. Despite this, please report issues as you normally would! Issues reported may be common with other hardware and can potentially be addressed by the Ubuntu development team or upstream projects.